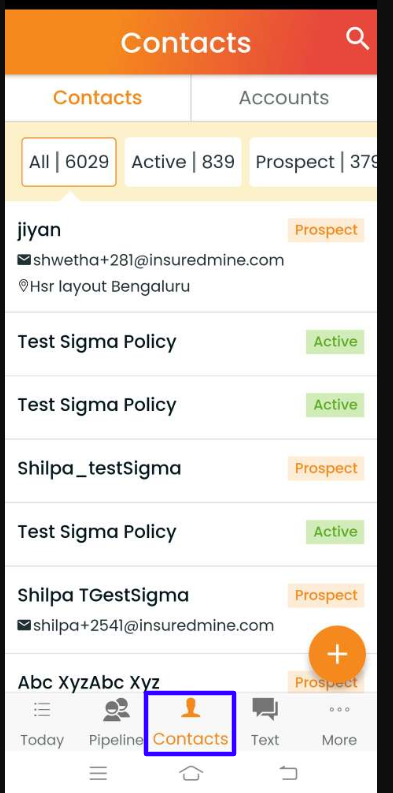
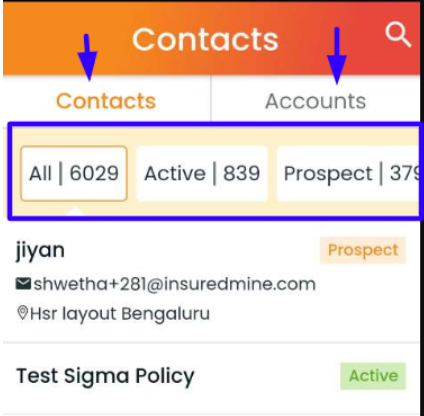
The contacts section includes 2 tabs: Contacts and Accounts.
The contacts section will represent the following contact groups- All, Active, Inactive, Prospect, Lead, and other types too.
You can tap on any contact to view the contact details.
You can tap on any contact to view the contact details.
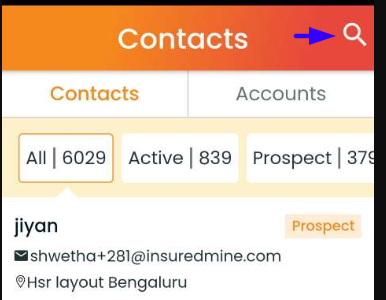
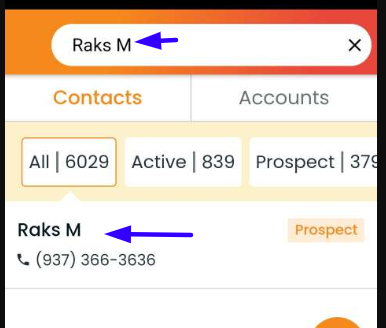
For instance, you can click on the search icon to search any contact or account by name.
How to add a contact?
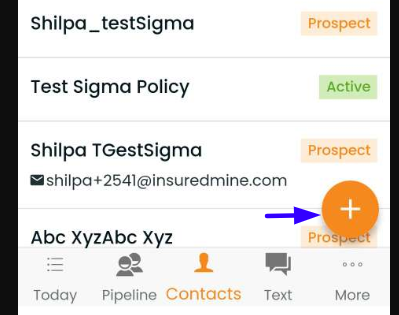
Click on the add icon
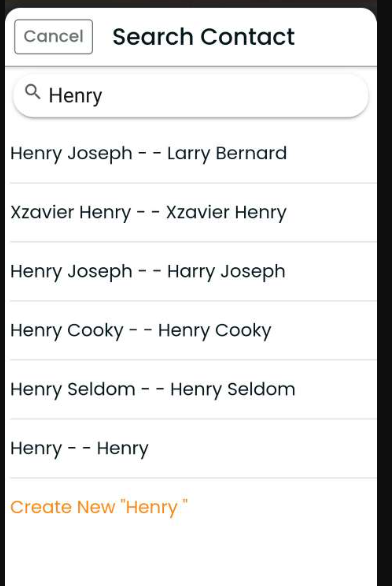
Fill in the account type and contact name. If the account already exists, it will popup or you can click on create new.
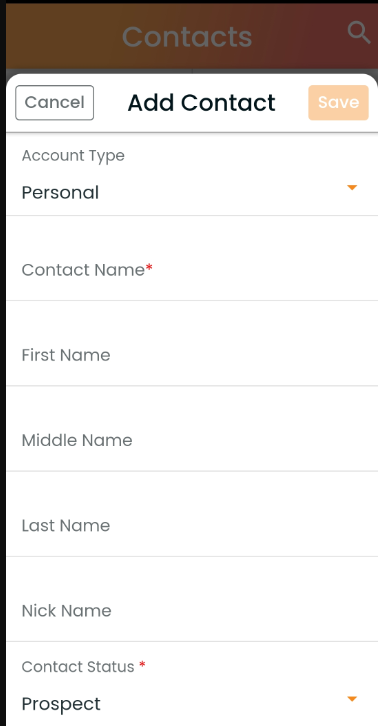
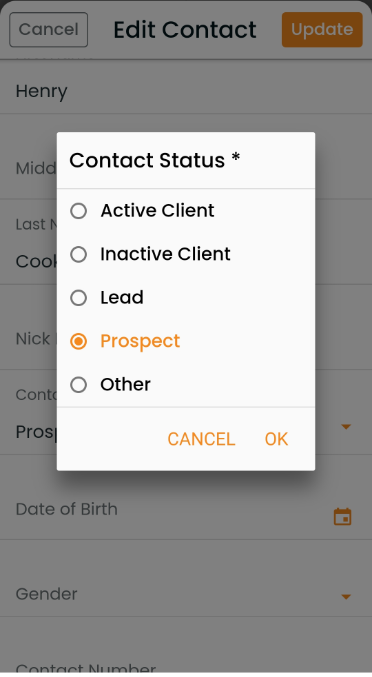
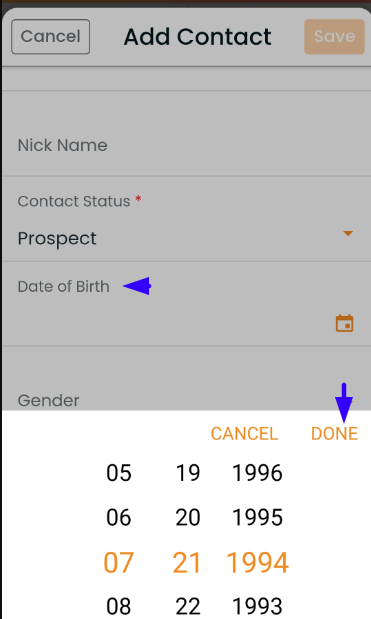
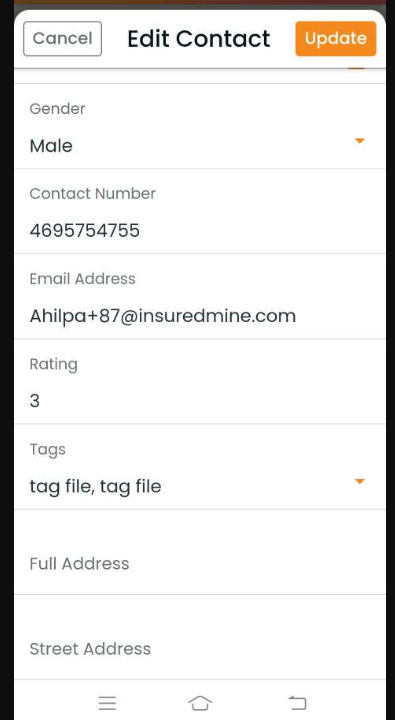
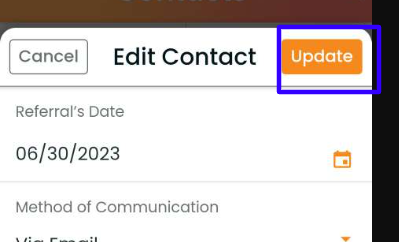
Select the Contact Status, Date of Birth, Gender, Contact Number, Email Address, Rating, Tags, Full Address, Driving License, SSN Number, Lead Source, Referral Date, Method of Communication, Disposition, Description, Website, and Social Media details. Once completed, click on update.
Acvity in Contact
What activities can you perform in the Contact section?
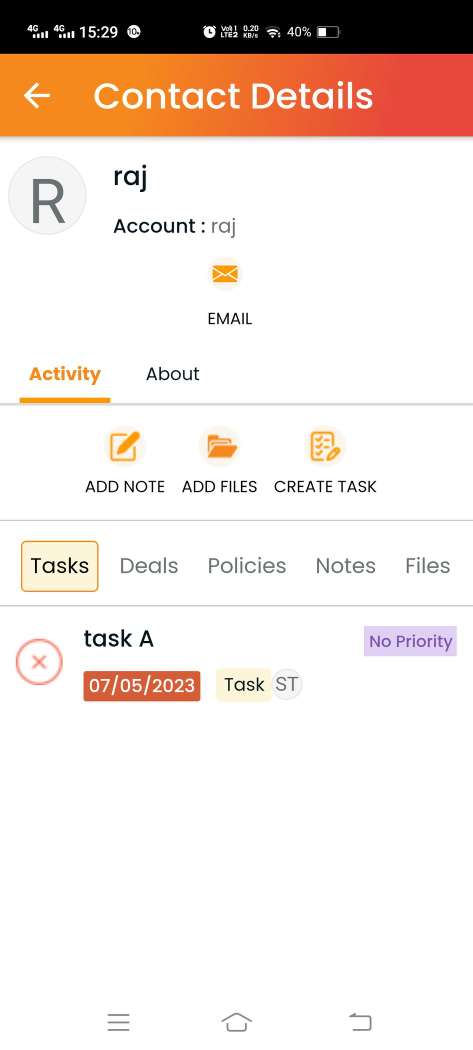
Three functions are available under the activity category in the contact section:
- Add Note
- Add Files
- Create Task
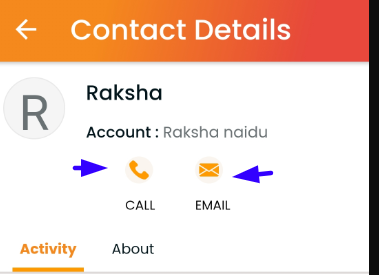
contact section, if the contact has a phone number or email, an email and phone icon will be visible and you will be able to place a call, send SMS/text, and send an email.
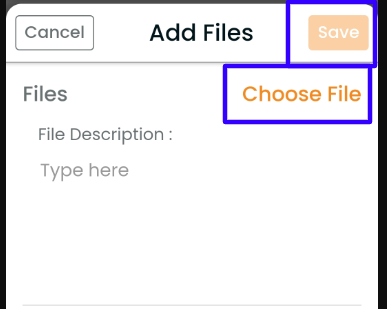
To add files:
Select file and fill in the file description. Click on save.
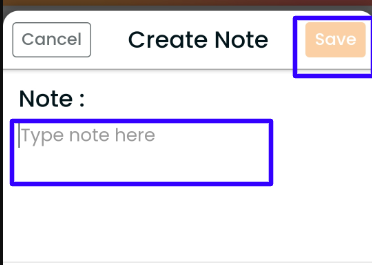
To add notes:
To create a note, add the note and click on save
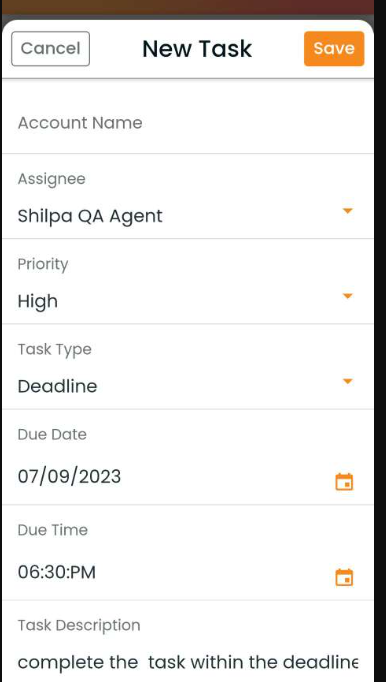
To add a new task:
- Click on the drop-down menu to select template
- Type in the task title
- Type in the account name and contact name
- Select the assignee, priority, task type from the drop-down
- Select the due date and time
- Click on save
All the created tasks, deals, policies, notes, files, email, SMS will be visible in the activity section under contacts. You can tap on any item saved under task, deal, policy, note, file, email, or SMS to have a detailed view.

About section in Contacts
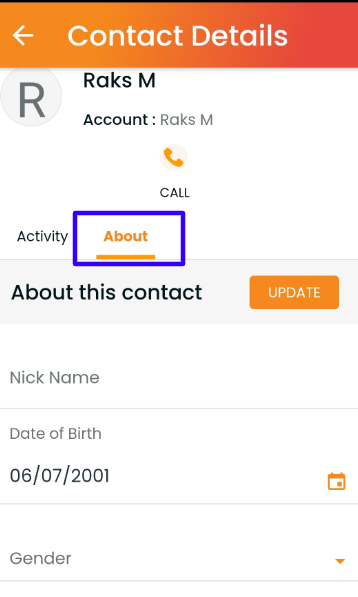
If you click on the about section in contacts, you will have the option to edit and update the detailed fields under contact.
