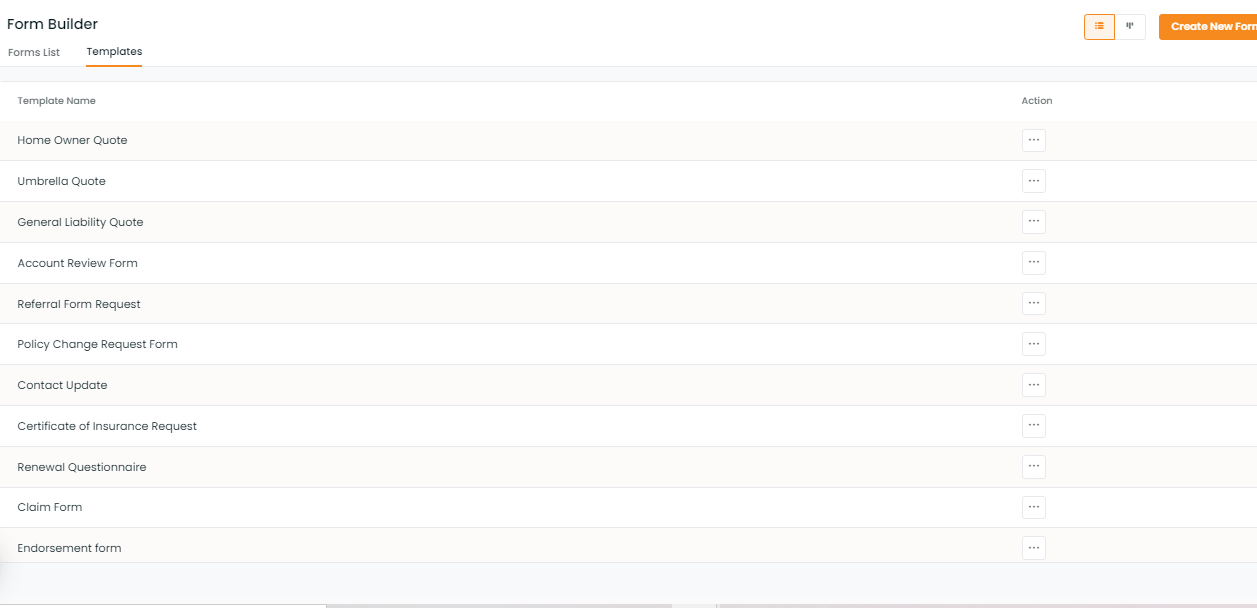
In this article, you will learn:
Creating forms has been made easier! Now you can customize the form in few minutes. Just drag and drop the fields as required and you’re good to go!
Steps to build a form:
- Navigate to Forms
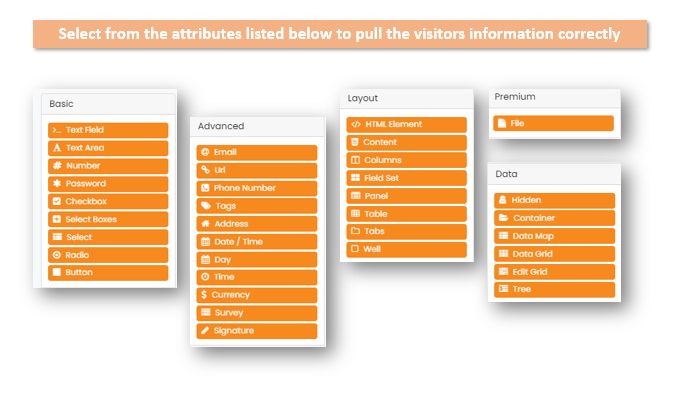
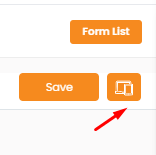
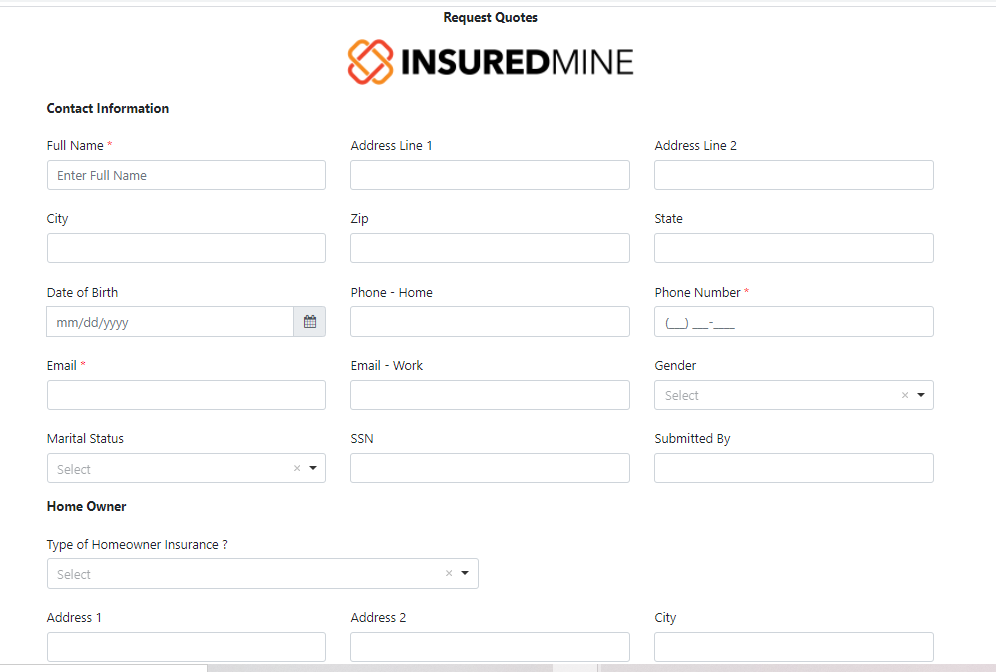
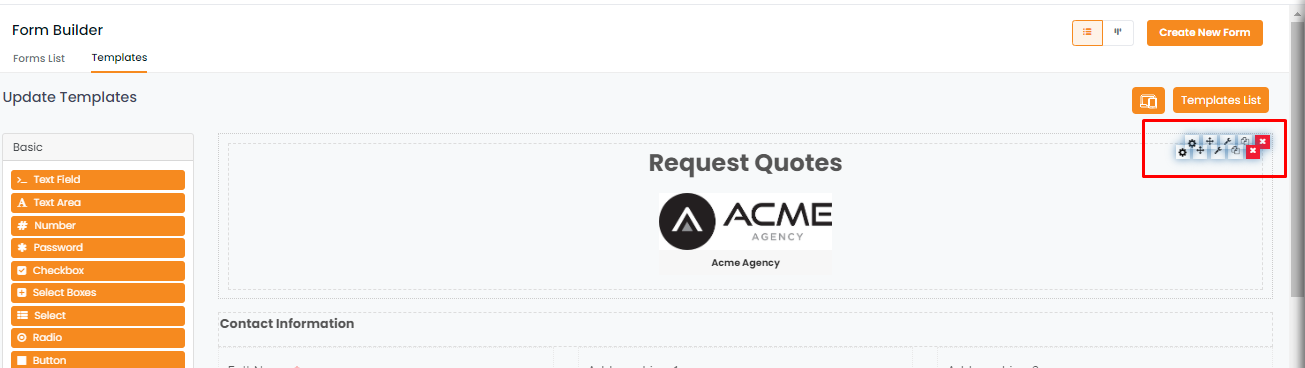
- Drag and drop the fields that you want to have in your form.
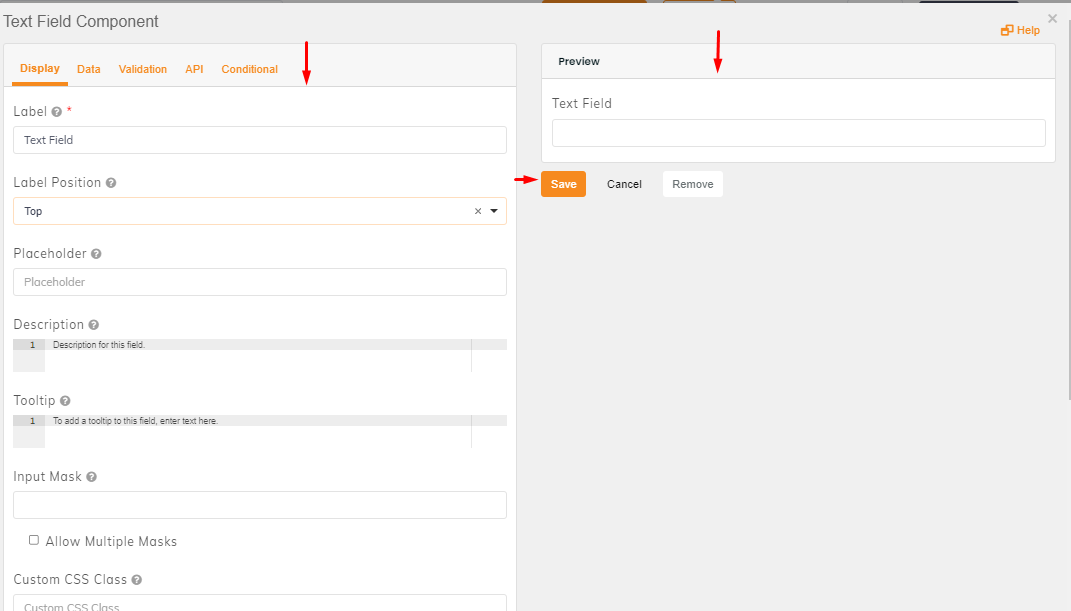
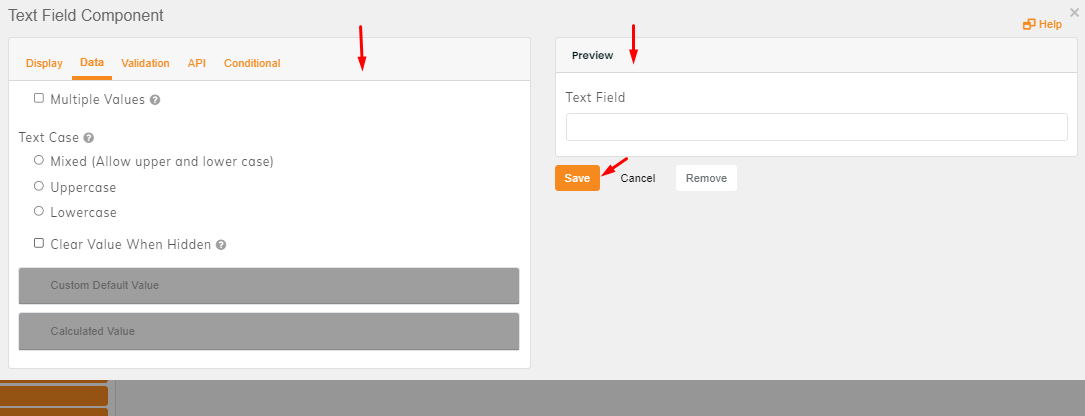
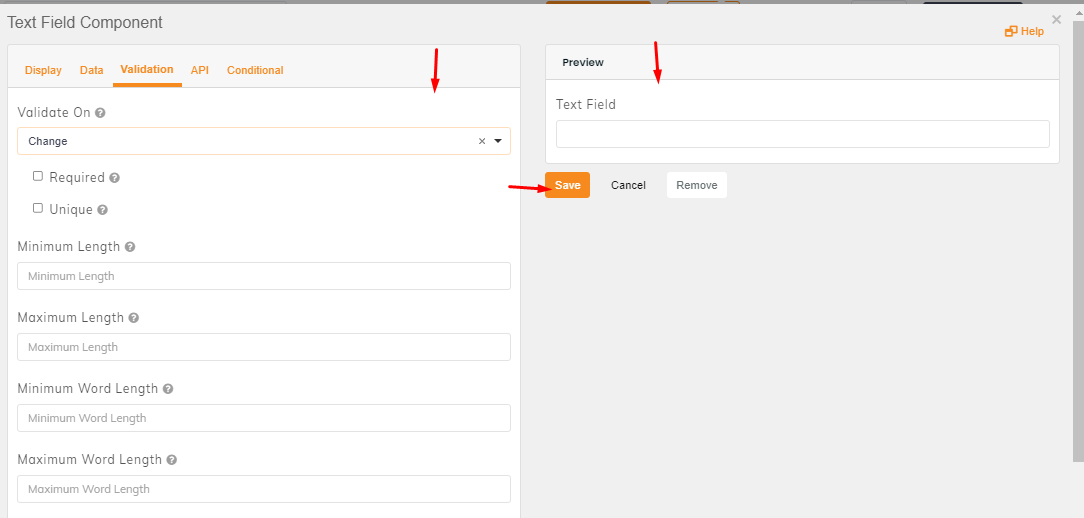
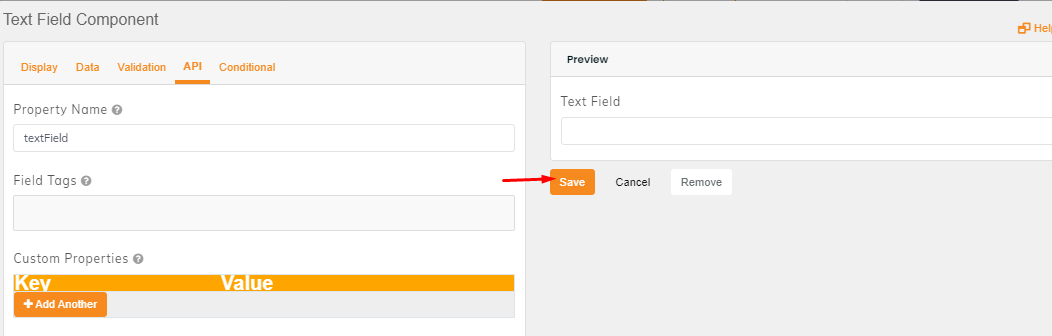
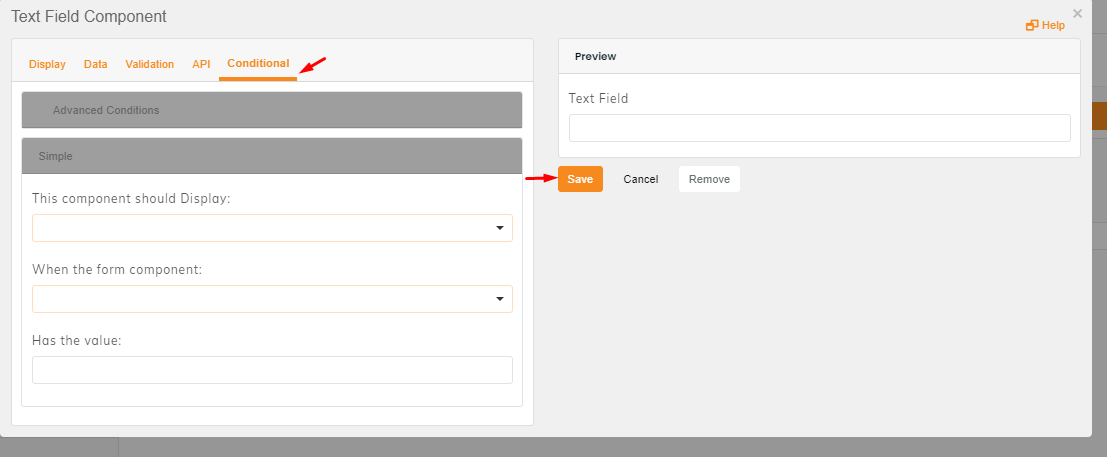
- Once you drag a new window will open where you need to choose and fill all the fields that you want to have in the form.
- In the text field components-select the components that you want in the display, data, validation, API, conditional.
- In the display section, set the label name, label position, placeholder text, description, tooltip, input mask, custom CSS class.
- Click to save.
Note:Â While setting the form you can view the settings on the right, this will give you can have an idea how the form will look like.
- In the data section select the text case, select multiple values if required.
- In the validation, section fill in the required details.
- In API section add the field tags, and you can custom properties too.
- If there are any conditions that you want to add to the form, then add those
- Once done click to save.
- In the form preview section, you can view the created form.
- This is how a created form will look like
Note:Â In forms there are pre-set form templates, that can be also customized and used as per your requirement.
To use the pre-built form templates:
- Navigate to forms
- Click on Templates to select any pre-built form
- There are 19 pre-built form templates, choose from those and click to edit the template.
- You can edit, move, copy and remove any fields in the form
Enhancement: April 2021