Admin can add, edit or delete the custom data fields in Accounts.
To view the enhancement:
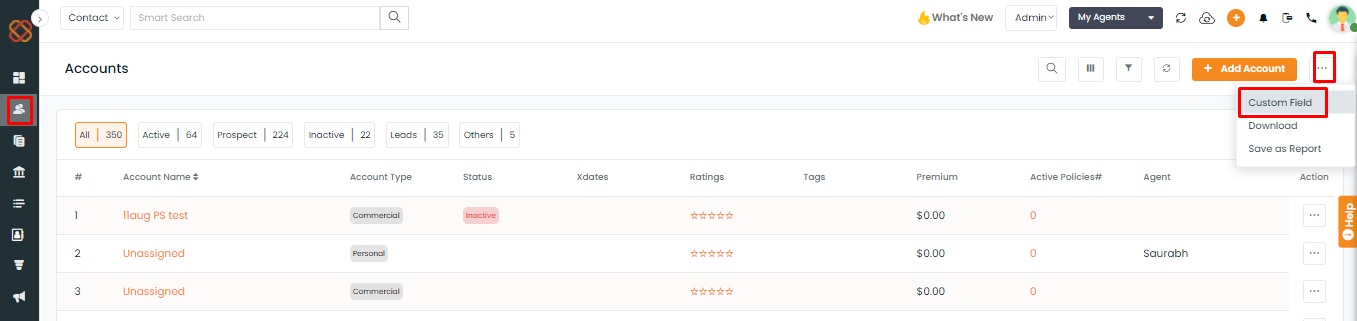
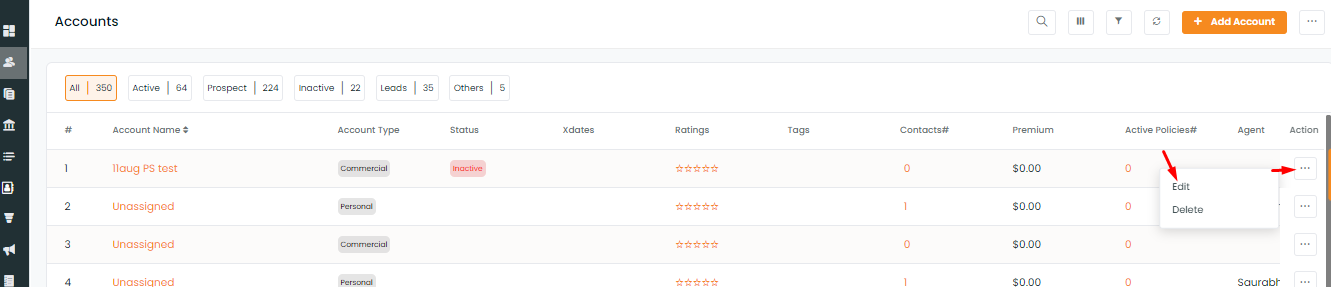
Navigate to Accounts
Click three-dots icon
Select Custom Fields
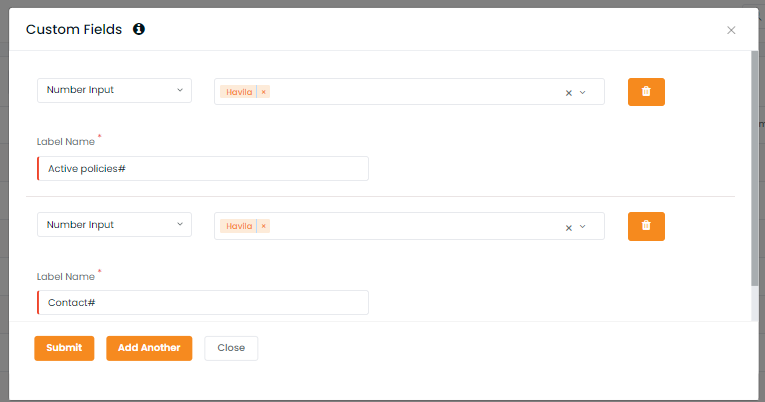
Add the custom data fields
Select the agents who can use the custom fields
Click Submit
Once updated you will get the message saying: Custom fields are updated successfully.
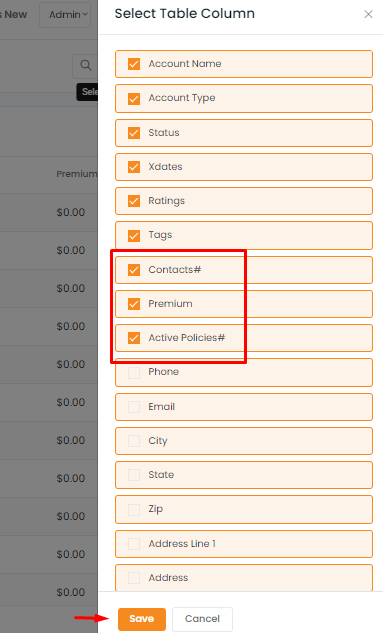
Navigate to the Table Column
Select the custom fields created
Click Save
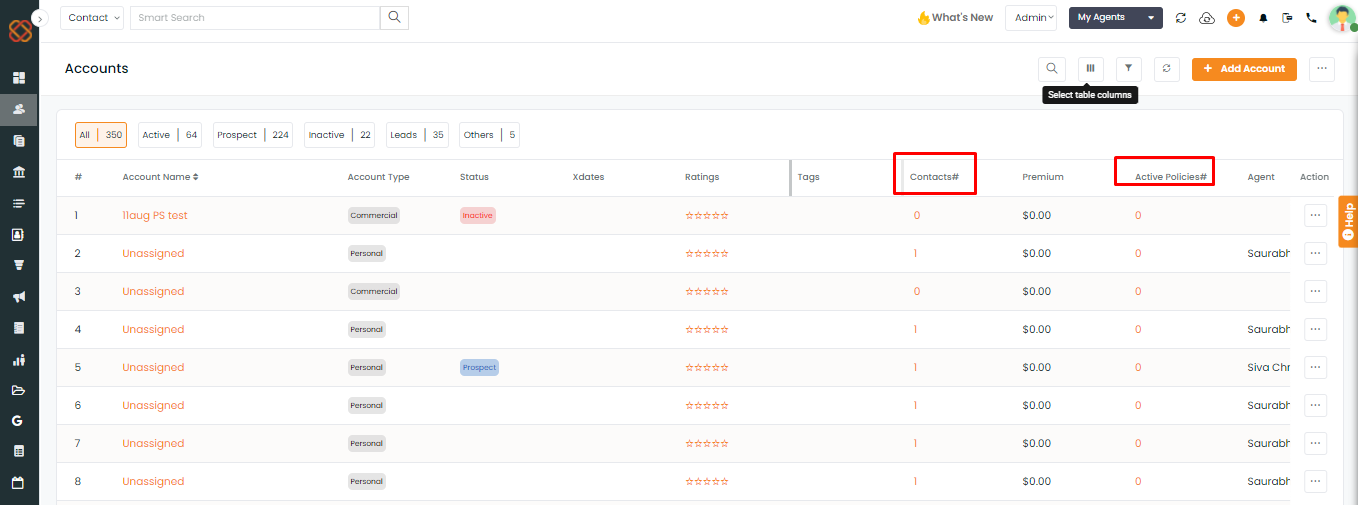
The Selected Table Column will appear in the table view of Accounts
In case you want to edit the custom data, click on the Edit icon and make the necessary changes. Then click on update.
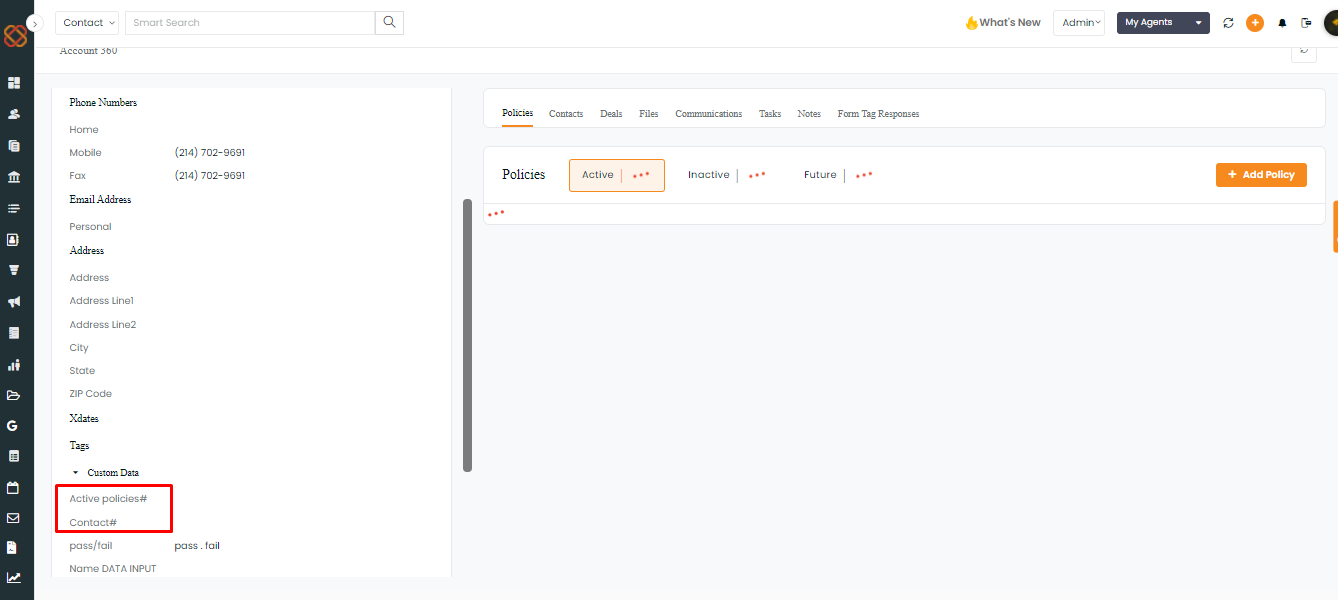
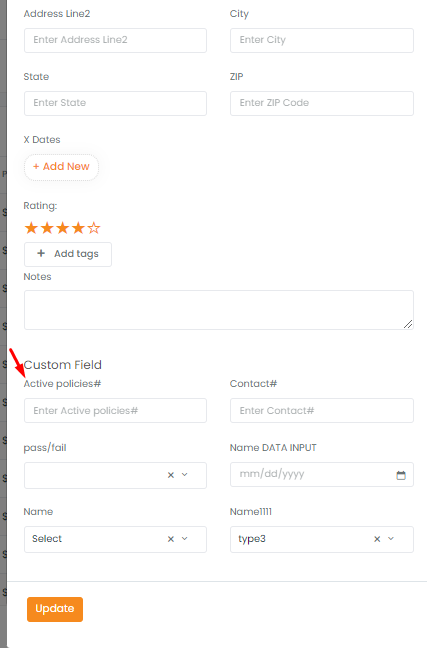
If you navigate to Account 360 of any contact and click to Edit the account, you will find the custom fields that you can edit. Once completed, click on Save.
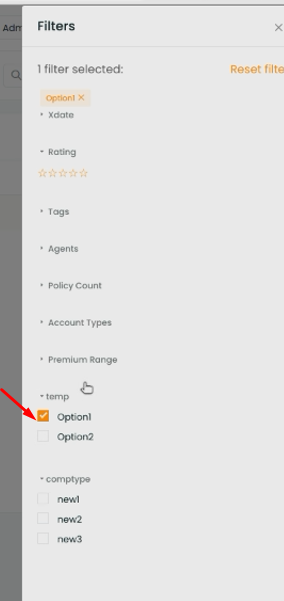
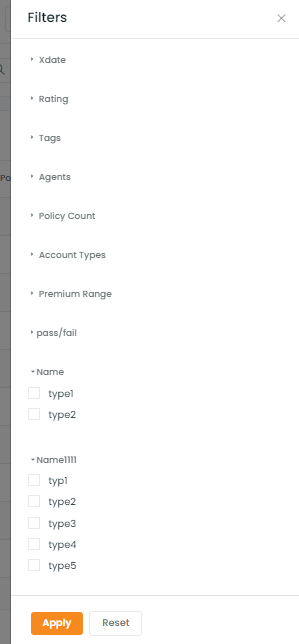
You can also filter your accounts based on the custom fields that you have added.